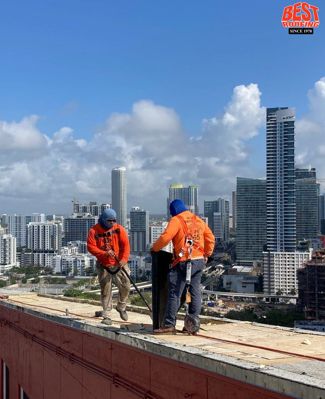
After a high-wind event, your top priorities are safety, documentation, temporary protection, and professional assessment. Even when damage isn’t immediately visible, strong gusts can create pressure shifts that loosen fasteners, break seals, and open pathways for water intrusion. Wind rarely just “blows material off”, it pulls at edges, seams, flashings, and rooftop penetrations, leaving behind small openings where moisture can travel unnoticed for weeks.
Wind uplift forces typically begin at roof perimeters, corners, and areas of discontinuity in alignment with ASCE 7 wind-load behavior. These forces can compromise edges, flashings, and seams, creating pathways for moisture if not promptly identified.
This guide explains how to spot the signs of wind damage, what to do immediately after a storm, and how to repair and prevent future issues.
What Does Wind Damage Look Like on a Commercial Roof?

Quick answer: Wind damage usually starts at the perimeter, where uplift pressures are strongest.
Check for:
- Loose or missing edge metal or coping caps
- Wrinkled or lifted membrane seams
- Detached flashing or exposed insulation
- Punctures from flying debris
- Interior water stains or ceiling damage
Even if the roof appears intact, wind-driven rain can infiltrate at displaced seams, flashings, or fasteners.
Any significant wind event or observed displacement of roofing components should trigger a prompt inspection by a qualified roofing professional.
What to Do Right After a Wind Event
- Stay safe. Keep everyone off the roof until it’s been inspected.
- Document visible damage from the ground. Take photos of displaced material, fallen branches, and interior leaks.
- Request an emergency inspection. Ask your roofing contractor for a same-day temporary repair (tarping, sealing, or patching).
- Dry out interior spaces. Use dehumidifiers and remove wet ceiling tiles to prevent mold.
- Notify your insurance provider. Share the incident details and inspection report for claim processing.
A reliable roofer can handle both the stabilization and insurance documentation, saving you time during a busy post-storm period.
Common Repair Options (by Roof Type)
Different roof systems respond differently to wind stress. Here’s how a qualified contractor might approach repairs:
Single-Ply Roofs (TPO, PVC, EPDM)
- Reseal or weld open seams
- Replace lifted or punctured sections
- Install perimeter enhancements consistent with manufacturer and code requirements when permitted as part of a repair scope.
- Re-adhere insulation or add perimeter strips for wind resistance
Modified Bitumen / BUR Systems
- Torch or mop new membrane plies over affected areas
- Repair blisters or splits before water penetrates the deck
- Reinforce flashings around HVAC curbs and drains
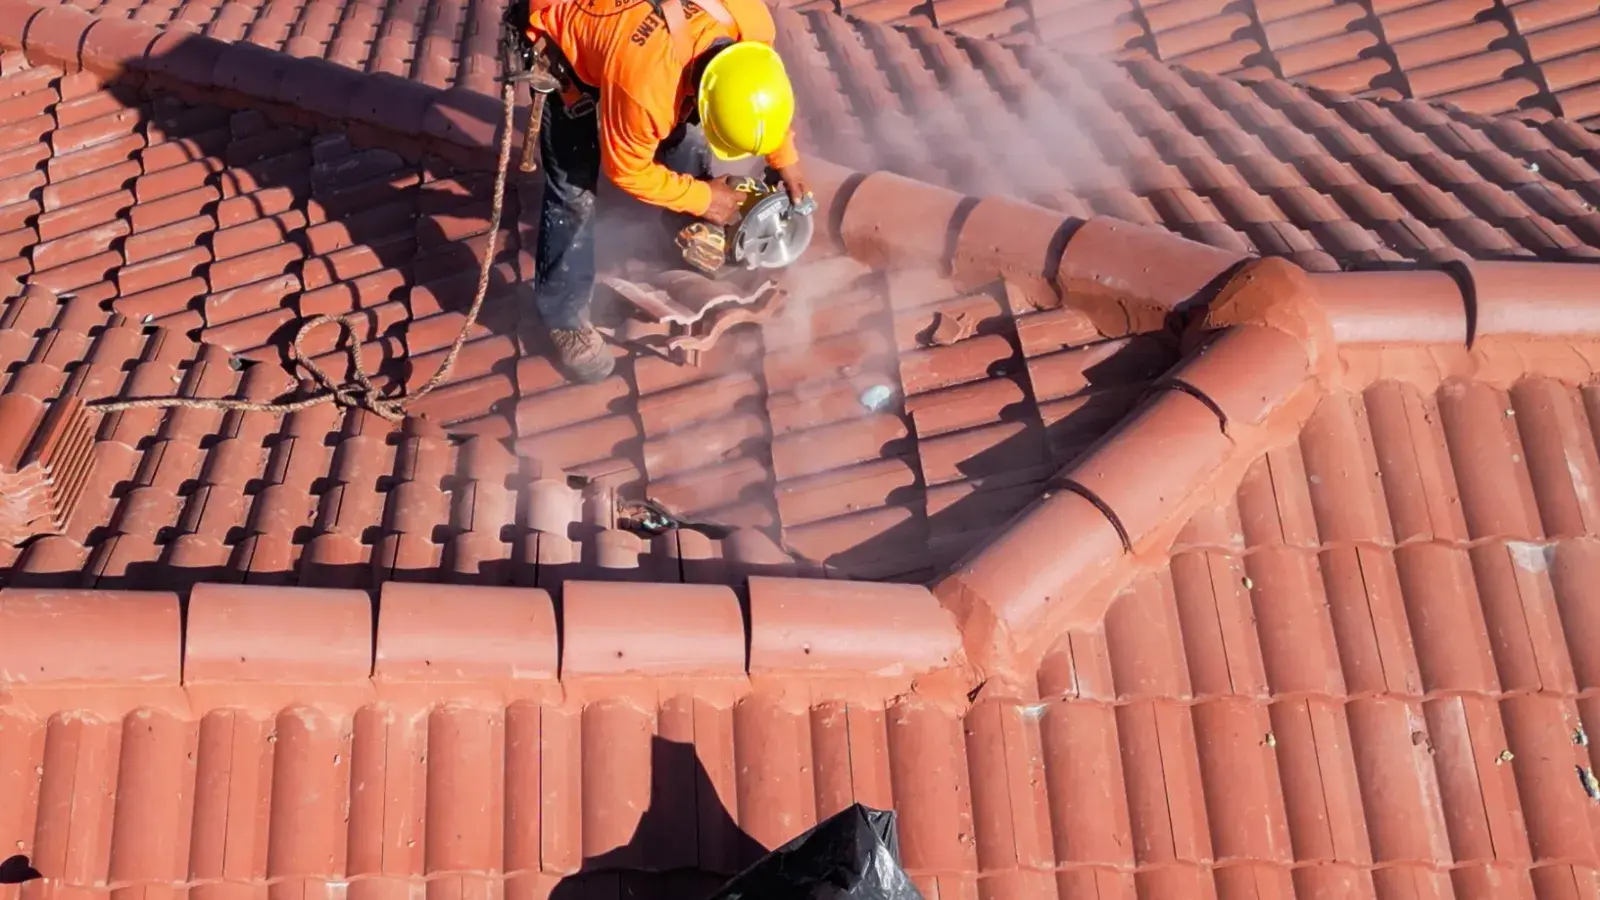
Metal Roofing
- Replace damaged panels or missing screws/washers
- Reseal end laps and check clips for spacing compliance
- Inspect all trims and ridges for uplift or loose fasteners
Insurance and Documentation: Get It Right the First Time
- Bundle your evidence. Keep photos, inspection notes, and temporary repair invoices together.
- Ask your roofer for two documents: a short-term emergency repair report and a full scope for permanent restoration.
- Coordinate inspection access so your roofer and insurance adjuster can evaluate damage at the same time — it speeds up approvals.
- Moisture surveys or testing may be required to identify saturated insulation and determine appropriate repair boundaries.
The more complete your documentation, the faster your claim moves — and the more likely it covers the full scope of needed work.
How to Prevent Wind Damage in the Future
Florida’s climate makes ongoing roof care essential. These upgrades and practices can drastically reduce storm damage next time:
- Upgrade edge metal to ES-1–rated profiles when compliant with the building’s design and manufacturer requirements.
- Follow ASCE 7 and manufacturer fastening patterns for perimeters, corners, and field zones; enhancements must conform to approved details.
- Secure rooftop equipment (HVAC, solar, vents) with proper curbs and flashings.
- Keep drains and scuppers clear to avoid ponding and uplift pressure.
- Trim nearby trees to prevent debris impact.
- Schedule biannual inspections — before and after storm season — to catch early signs of edge or seam fatigue.
Regular inspections and maintenance help support long-term performance and warranty compliance.
Choosing the Right Roofing Partner

Wind damage repair isn’t just about patching leaks — it’s about restoring your roof’s full design performance. A trusted contractor will:
- Diagnose the root cause of the uplift
- Provide a repair vs. replacement comparison with cost ranges and expected lifespan
- Ensure code compliance and documentation for insurance
- Minimize tenant or business disruption during repairs
Plan Your Wind Damage Roof Repair with Confidence
If your property has experienced high winds, don’t wait for leaks to appear.Localized displacement can allow moisture entry and should be evaluated promptly to prevent further deterioration.
Best Roofing has served Florida’s commercial properties for over 46 years, providing responsive inspections, detailed reporting, and durable wind-resistant repairs built to code. Our team understands the demands of Florida’s climate and works around your building’s schedule to minimize disruption while restoring full roof integrity. From initial inspection to final warranty documentation, we make storm recovery simple, transparent, and dependable.
Visit our website to schedule your inspection today.
Related Articles